Windows 10 — Install a Yiddish Keyboard
Back to Windows Kompyuteray Page
NOTE: You may find it easiest to print this page and then follow the steps. It just takes like 5-10 minutes (one time only)
1. From the Start Button (lower left corner) open Settings (f/k/a Control Panel) — It looks like a gear.
2. Go to Time & Language
3. Click on the Tab for Language.
4. Do NOT change the “Windows Display Language” at the top of the screen. LEAVE THAT ALONE.
5. Click the Plus Sign + to Add a Language.
6. Select Yiddish. (You can type Yiddish in the box at the top to easily find it.)
7. Under that Plus sign + you should now have (at least) two languages — probably English and Yiddish. גוט אַזױ
8. Click once on “Yiddish” and then click on the Options button.
9. Click “Add a Keyboard”
10. Scroll down the list of languages until you find the one you want; e.g:
- Hebrew (Do NOT select “Standard Hebrew” for standard YIVO Yiddish.) Read about it here.
- Yiddish Phonetic Keyboard (If you want this and you didn’t download and install it yet, click here.) If the keyboard you want is already there, ignore the next two steps.
11. Just click once on the name of your desired keyboard and it will be added. Now you will see a Keyboard List — which might just have one; or you can add multiple keyboards if you want to try them all out. You will be able to easily switch back and forth between them. Later, when you decide which one you like the best, you can come back here and delete the one(s) you don’t want.
12. Click the left back arrow (extreme upper left of screen).
13. Restart your computer.
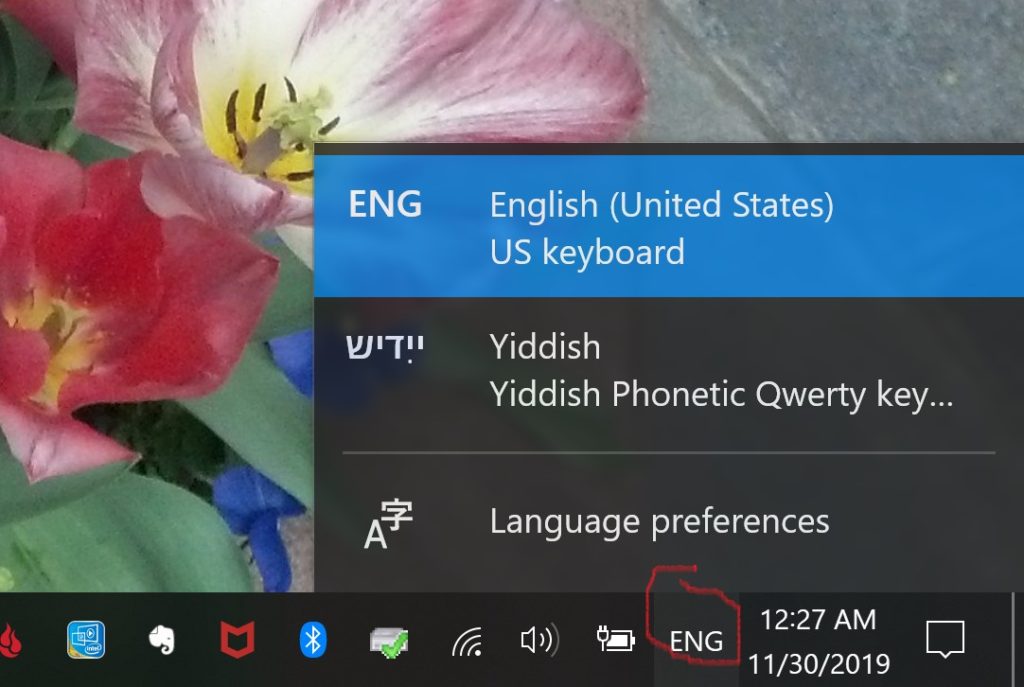
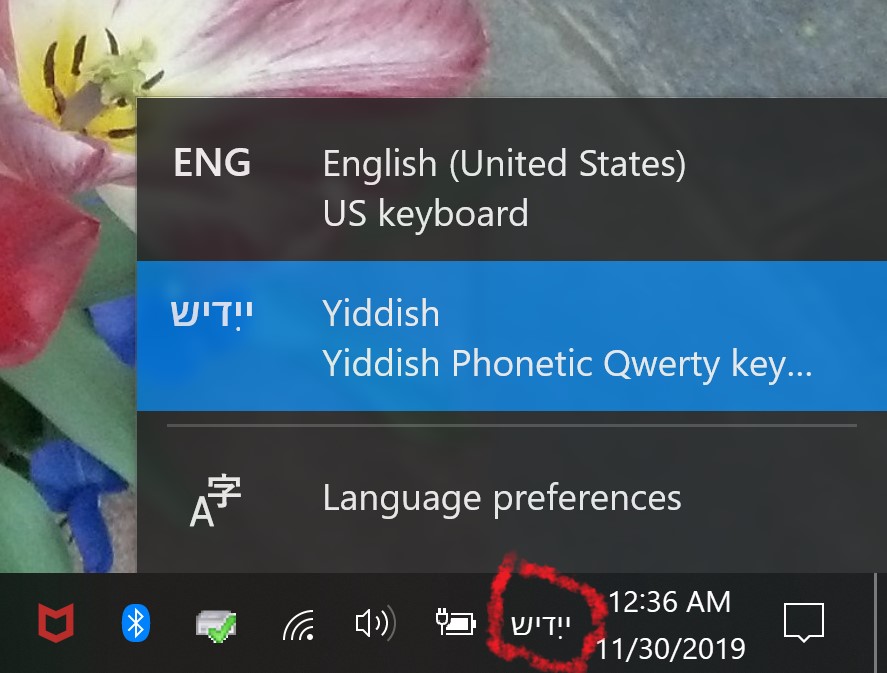
14. Now, you should have a tiny Language “Bar” Box in your Task Bar (at the bottom of your screen in Windows) — like this:


SHORTCUT: If you often type multiple languages and you want to easily switch back and forth (e.g., between English and Yiddish) hold Shift + tap Alt at the same time (I do it with my left hand) — If that doesn’t work, or if you don’t see the Language Bar, you can set it up here.